XCUITest for iOS Apps
UI testing for iOS app is a way to validate & interact with the real UI of the app. This testing process will check if UI elements are designed and implemented the way it should be by interacting the UI elements by tapping, swiping, scrolling and verifying the behavior. For iOS version 9.3.5 and above, Apple has introduced XCUITest by deprecating instruments with UI Automator making it mandatory to use XCUITest for iOS automation.
Xcode has XCUITest framework integrated allows to easily develop UI tests for user’s interaction with the application. Implementation of UI tests for iOS apps with XCUITest is same as unit tests in XCTest.
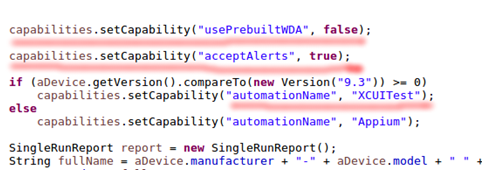
pCloudy supports both XCUITest for iOS version 9.3.5 & above and instruments for lower version. DesiredCapabilities like automationName, usePrebuiltWDA, acceptAlerts are required to run the automation scripts in pCloudy platform.
1) Creating IPA file using xcode for testing
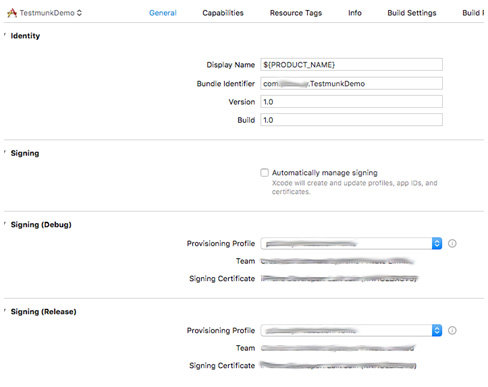
a. In General tab, Select Provisioning profile in Signing(Debug) and Signing(Release)
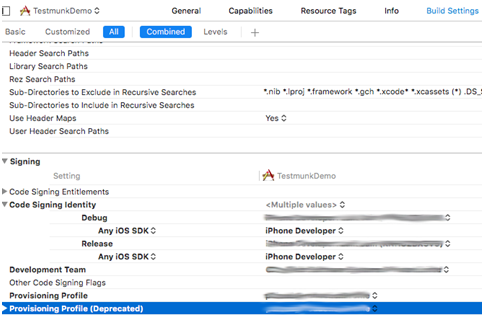
b. Select Provisioning Profile
c. Archive the build
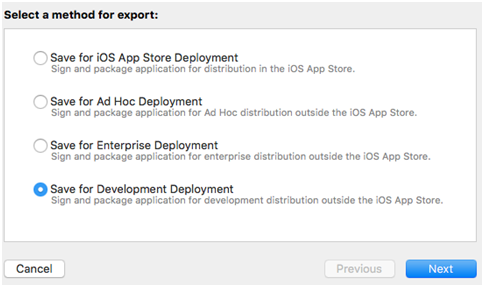
d. Export the build
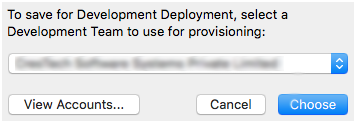
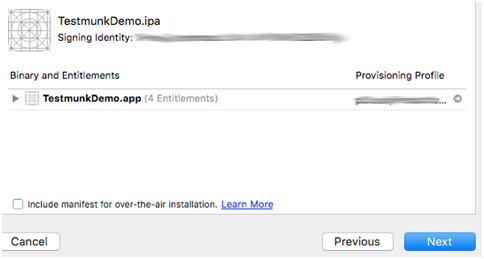
e. Choose Development Team ID
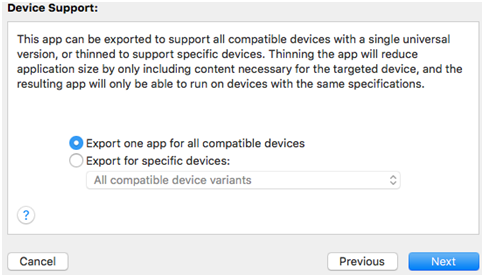
f. Choose to export for all compatible devices
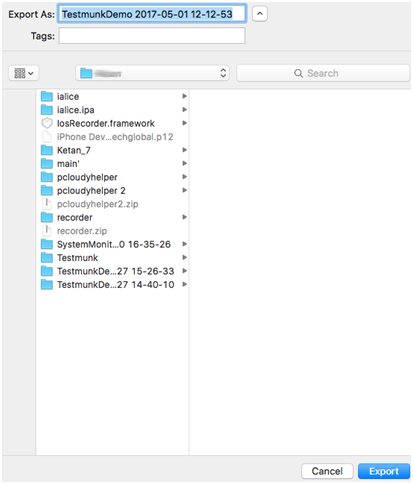
g. Select the appropriate location to save
Now you have properly signed to run automation in pCloudy platform.
2) Running Automation Script @ pCloudy
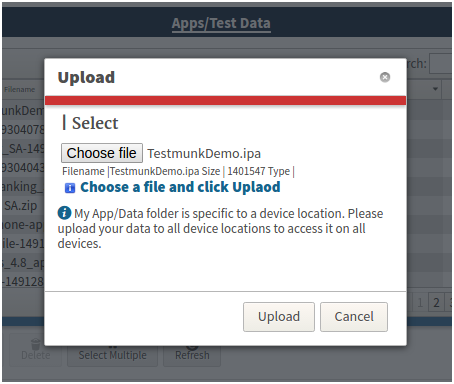
a. Login and upload ipa file
b. Upload the App to cloud drive post login
c. Create XCUITest project in Eclipse or Android Studio.
The following capabilities need to be set after creating AppiumDriver object to run XCUITest above v9.3
Also you can download Sample Project from below link-
http://pcloudy-content-distribution.s3.amazonaws.com/index.html?prefix=Sample Appium Projects/java/
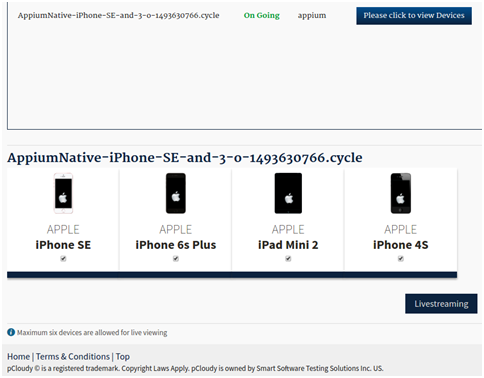
d. Select any number of iOS devices for test run
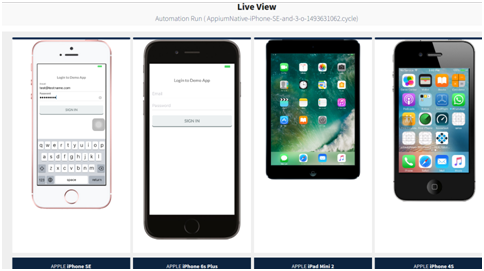
e. Click Live view for Online Streaming of Test automation
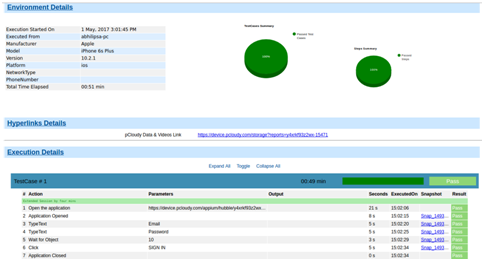
f. View the Reports
Consolidated Report:
Single Device Report:

