- 10 Dec 2024
- 3 Minutes to read
- Print
- DarkLight
Using Mobile Recorder to Create a Test Case for Mobile Application
- Updated on 10 Dec 2024
- 3 Minutes to read
- Print
- DarkLight
In Opkey, you can efficiently create and manage both automated test cases for mobile devices in the Automate section. In this article, we will create and execute a test case for testing a mobile application uploaded in the Test Infra section of Opkey.
Before starting to create test case for your mobile application, make sure to upload the application and complete its instrumentation process. Click on the links to understand how to complete the process of upload and instrumentation of the application.
Now, let's learn how to create a test case with mobile recorder.
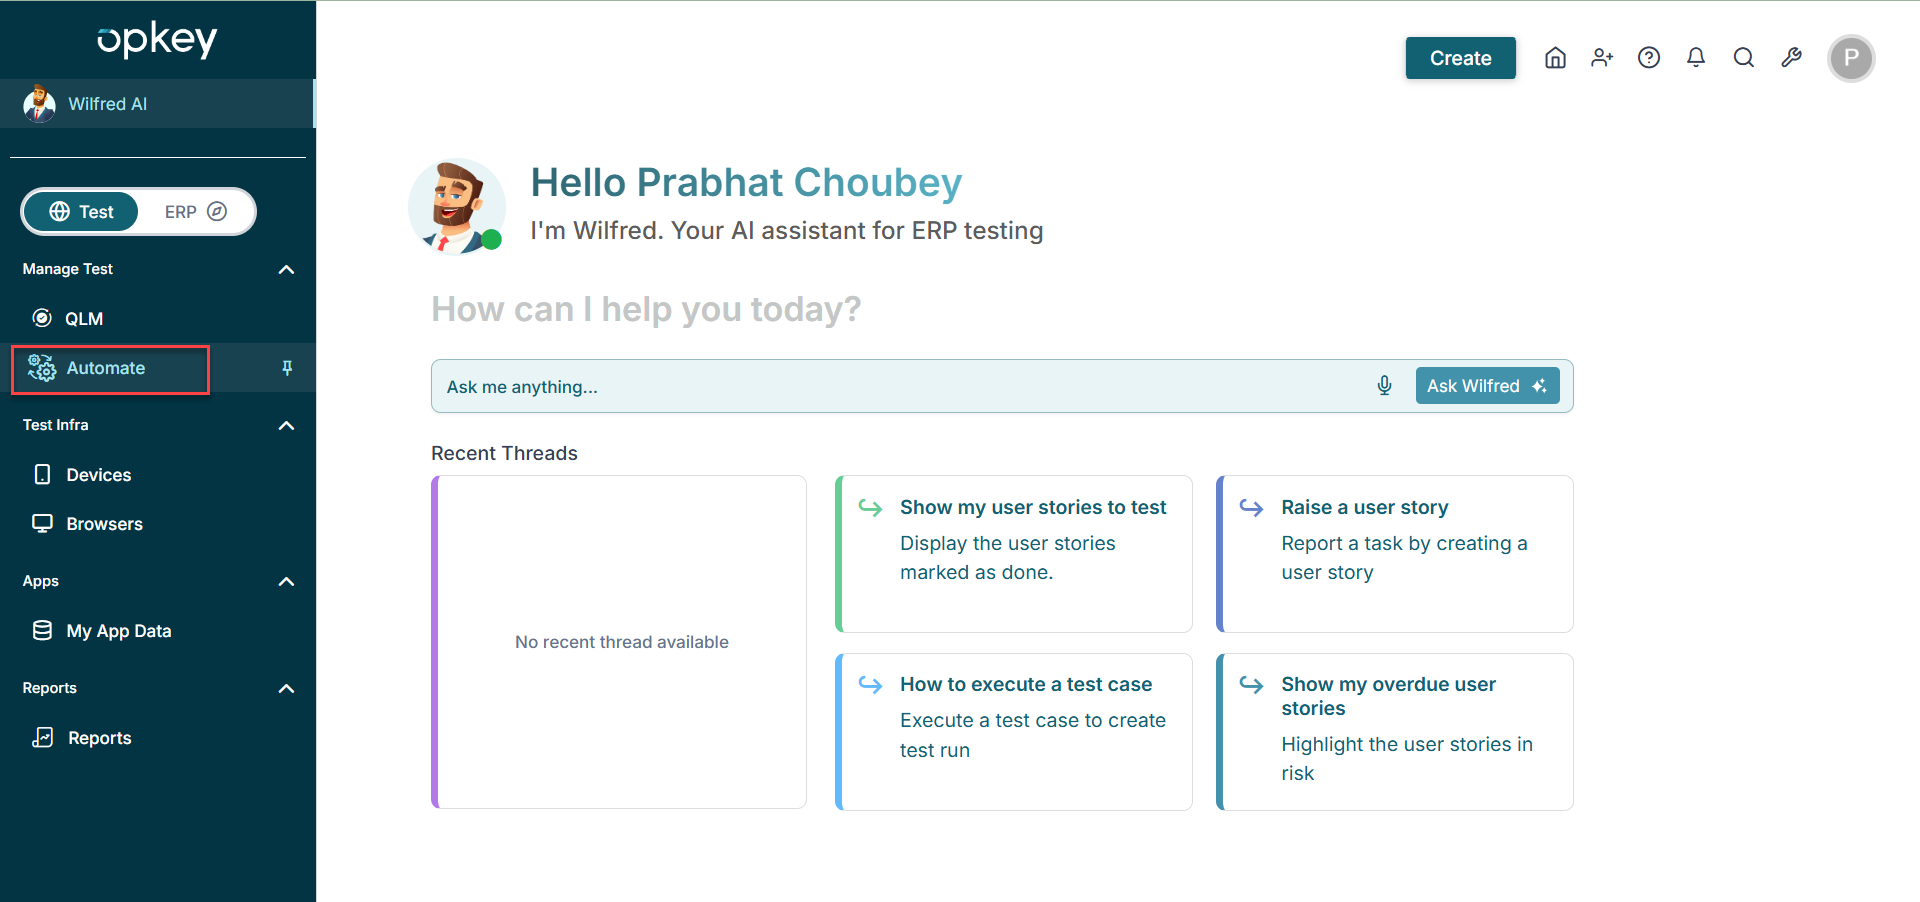
Hover over the left panel and click to open the Automate section.
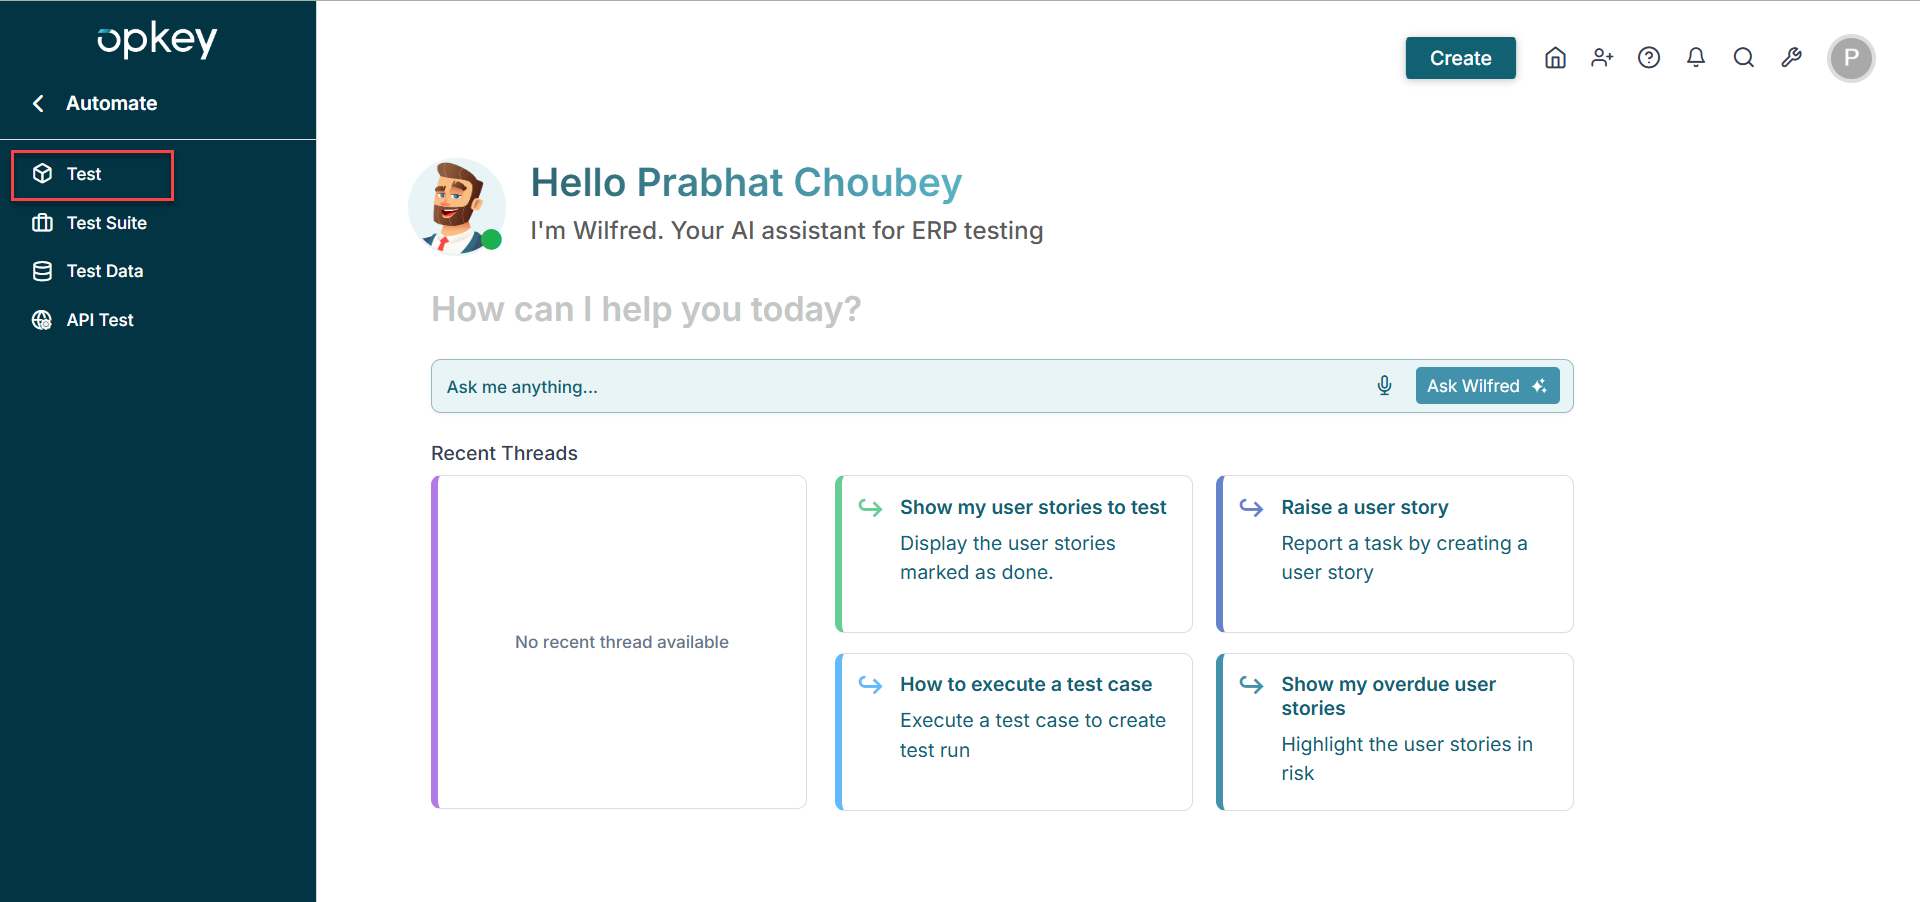
In the Automate section, click on the Test option to open the Test section.
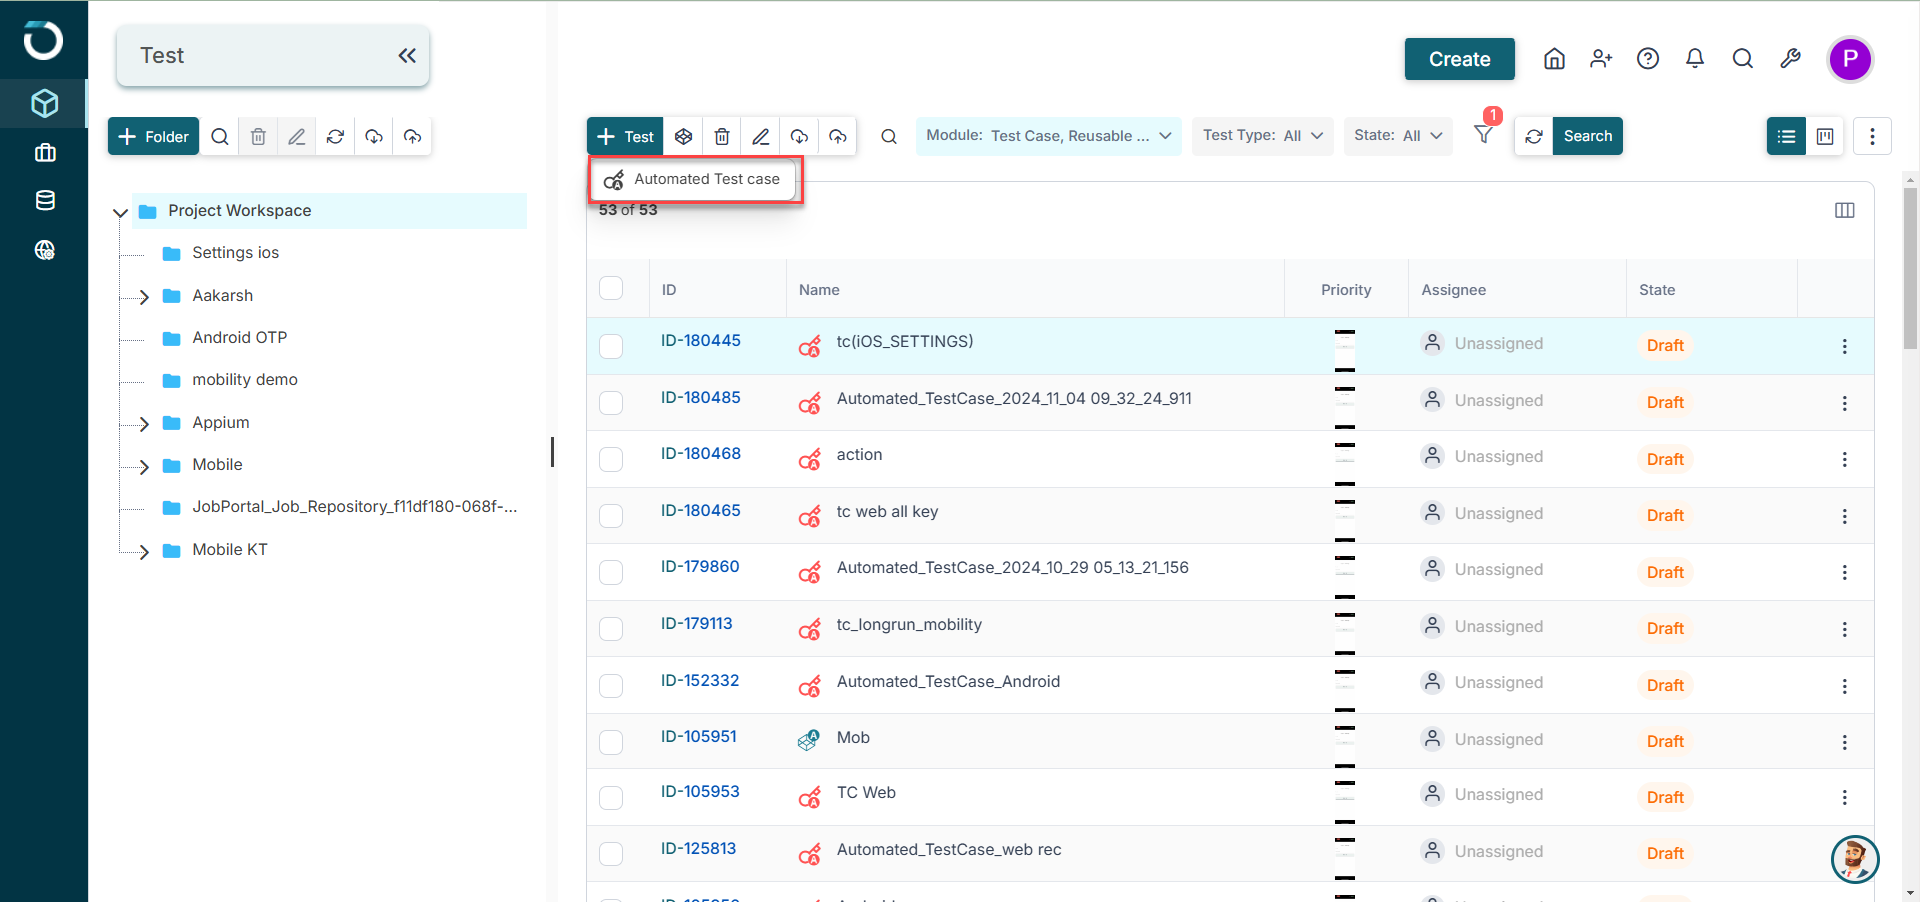
Click the + Test button and select the Automated Test Case.
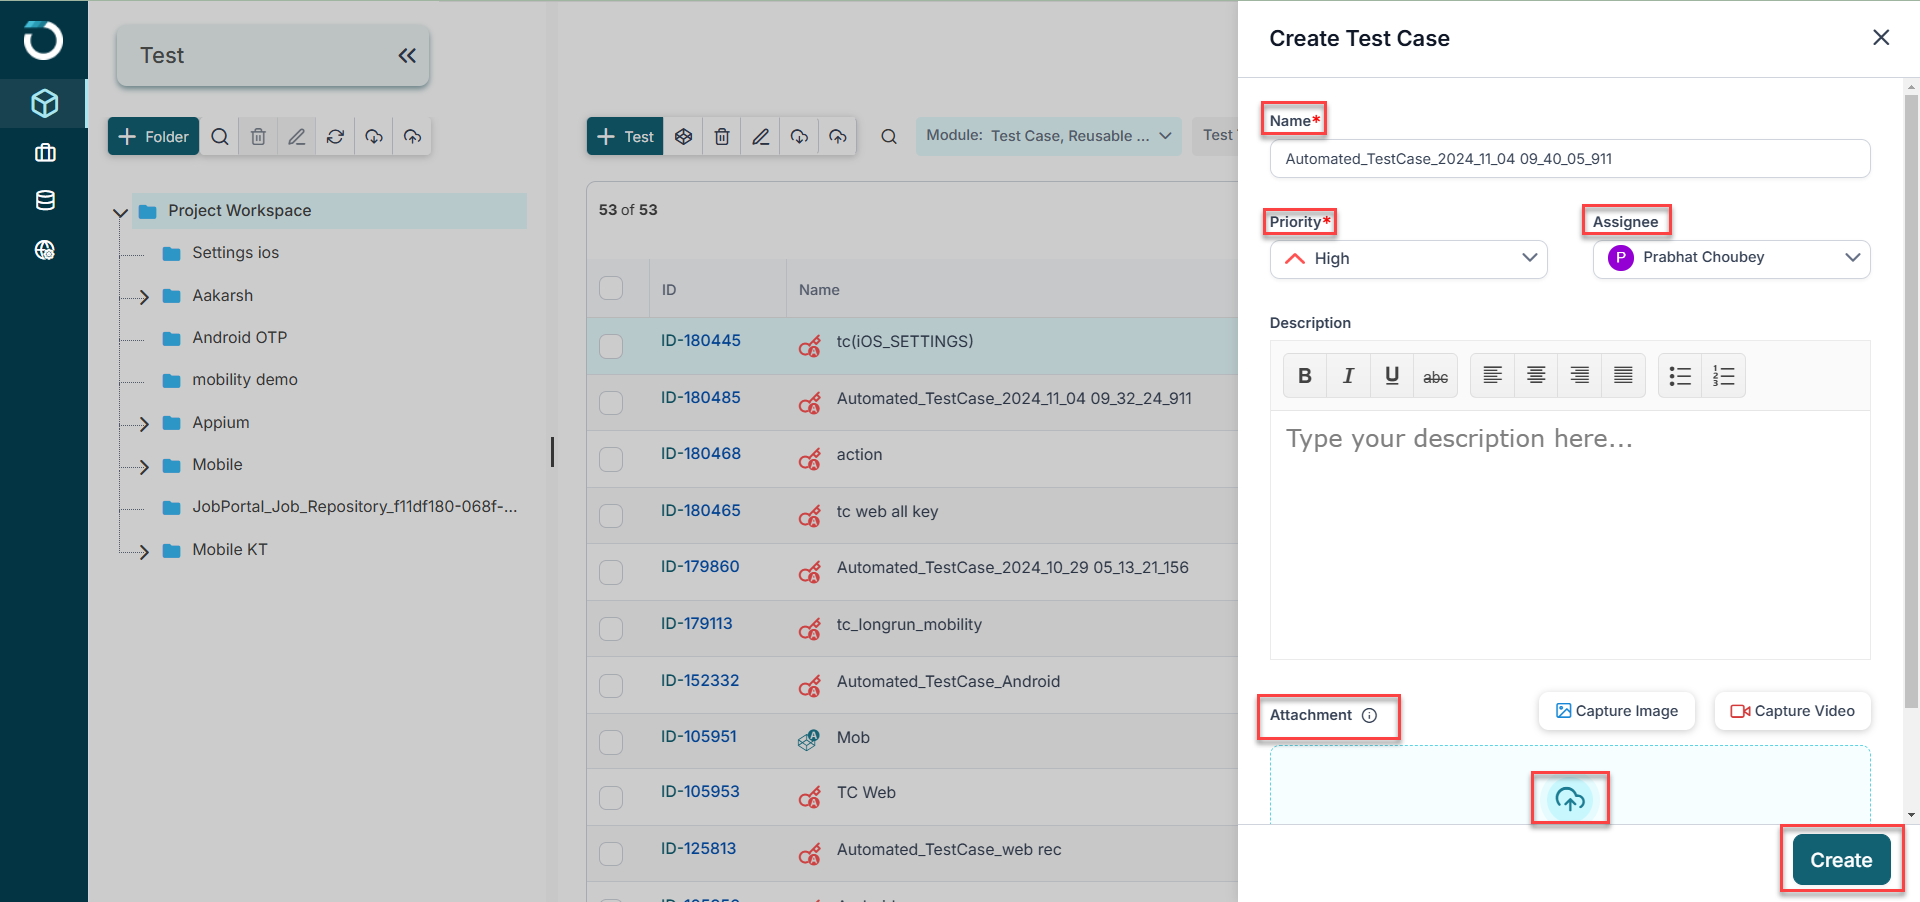
The "Create Test Case" window opens on the right. Fill in information such as Name, Priority, and Description, and choose an Assignee. You can also add attachments like spreadsheets, videos, images, etc., to this test case by clicking the upload icon in the attachment section. Once done, click the Create button at the bottom.
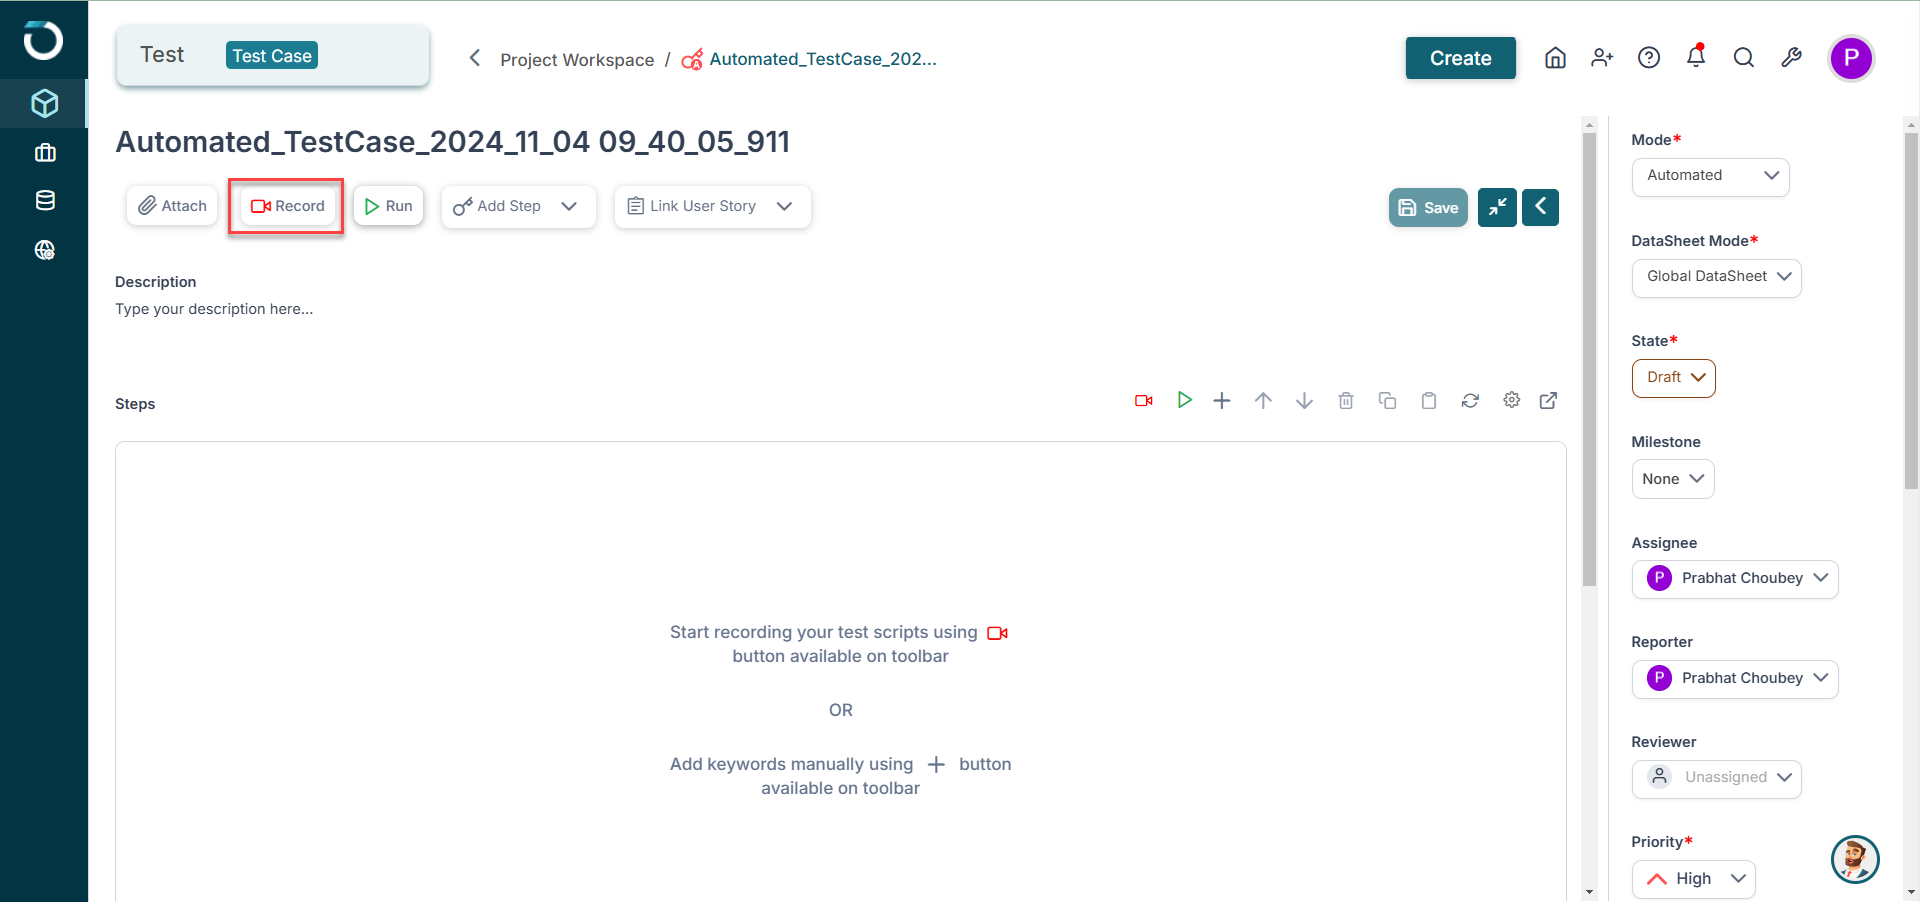
Now, to add steps in the empty test case, click on the "Recorder" option.
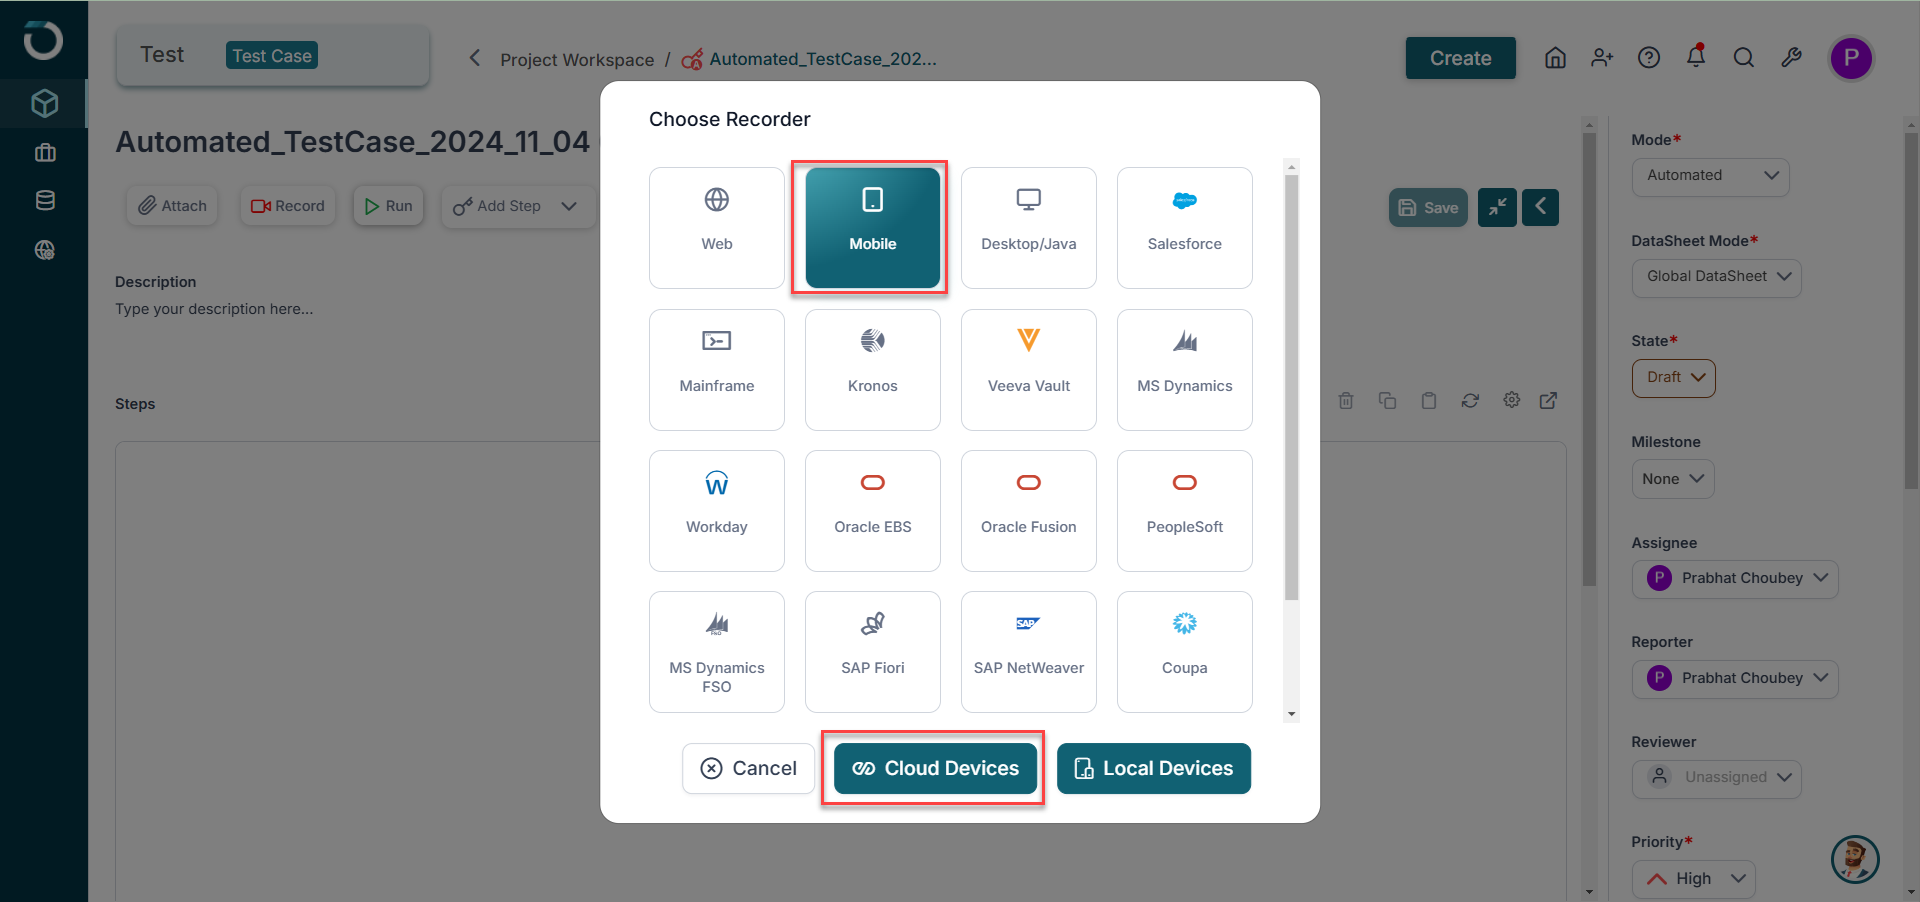
Select "Mobile" recorder as we are testing a mobile application, and click "Cloud Devices" button at the bottom to begin the recording process on a mobile device available on cloud. You can also connect your local mobile device and click the Local Devices option to proceed with recording using your local device.
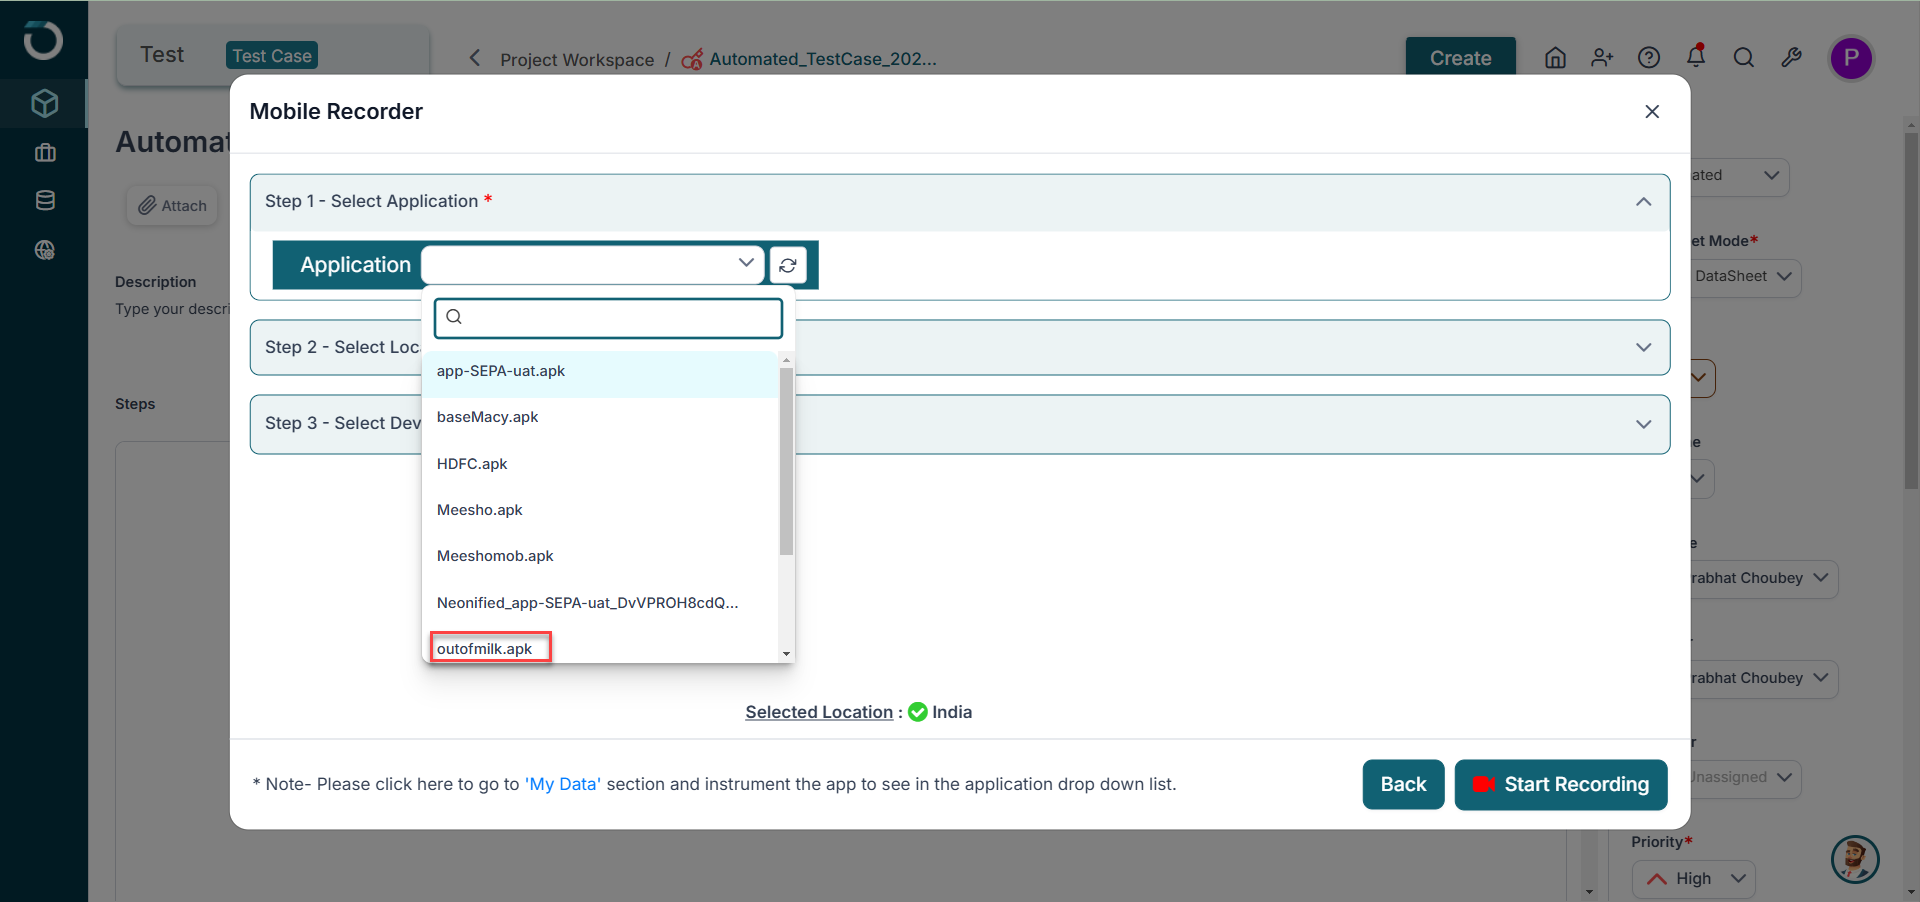
On the next page, first select your uploaded application that you need to test from the dropdown.
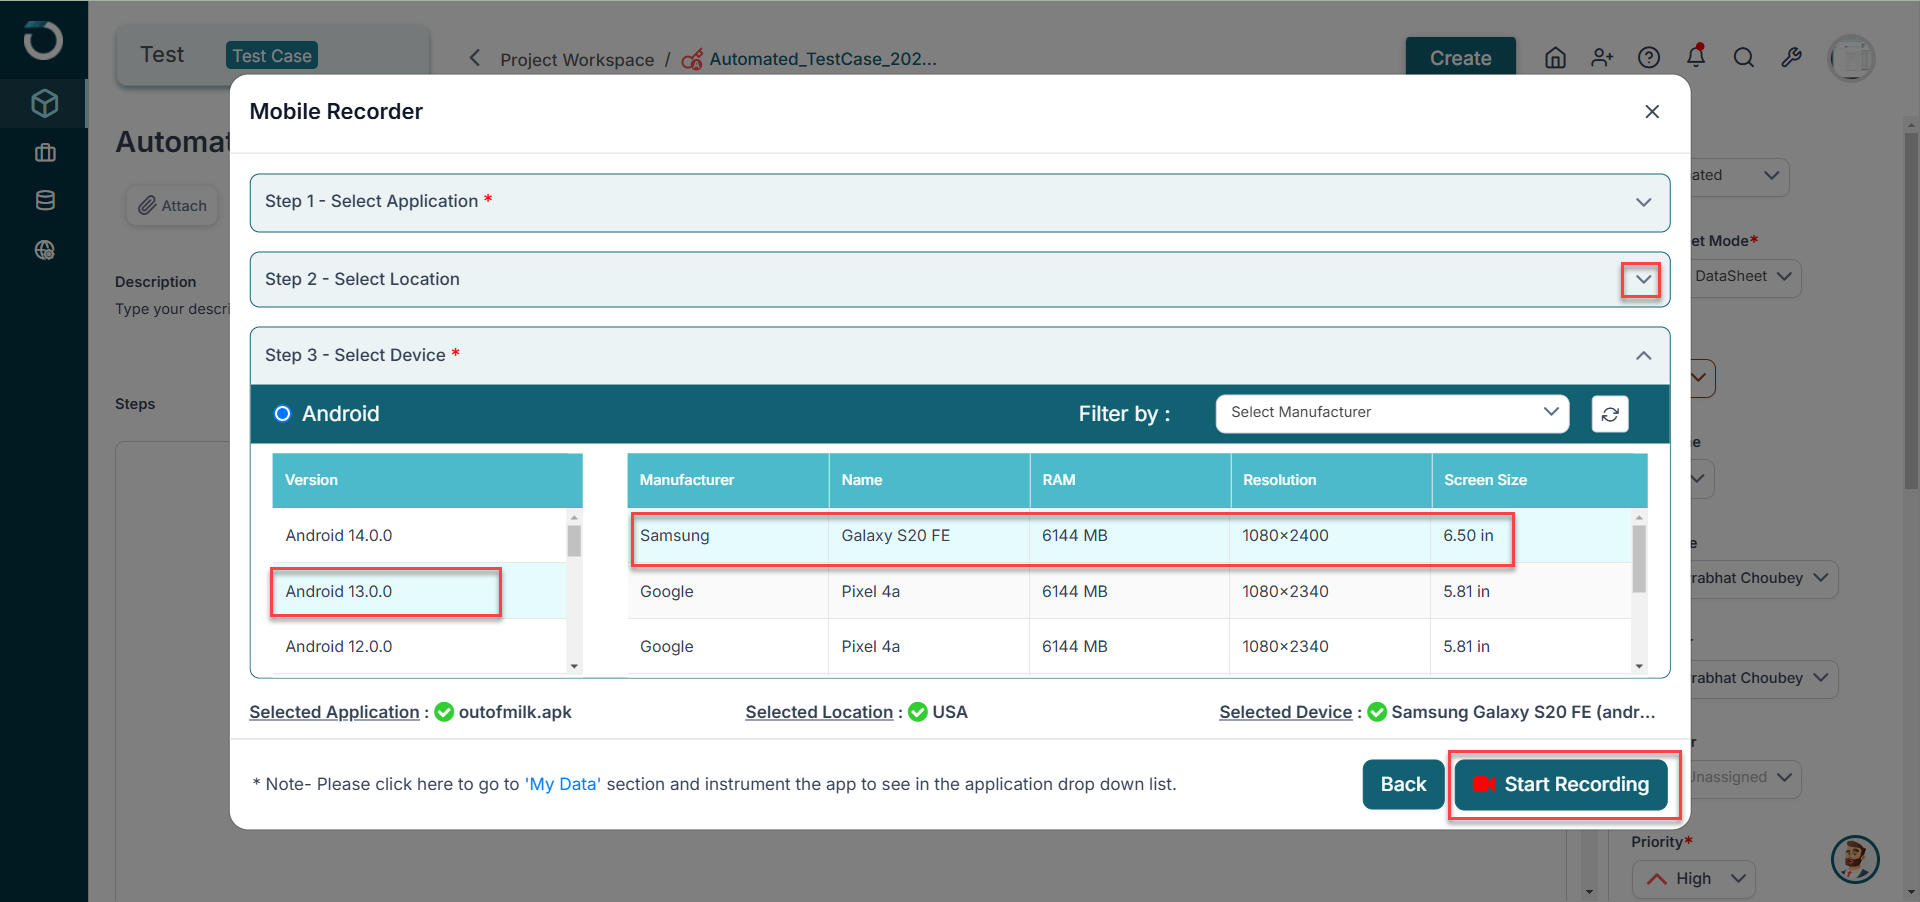
In the next steps, select a location for testing by expanding step 2 and selecting a location from the dropdown. After this, select the Android UI version and the select a mobile device. Your selected application, location, and device will be visible at the bottom. Once done, click Start Recording at the bottom.
The mobile recorder window will open up with the application opened in your selection device. You can perform the actions on the application and they will be recorded in form of test steps in the recorder window.
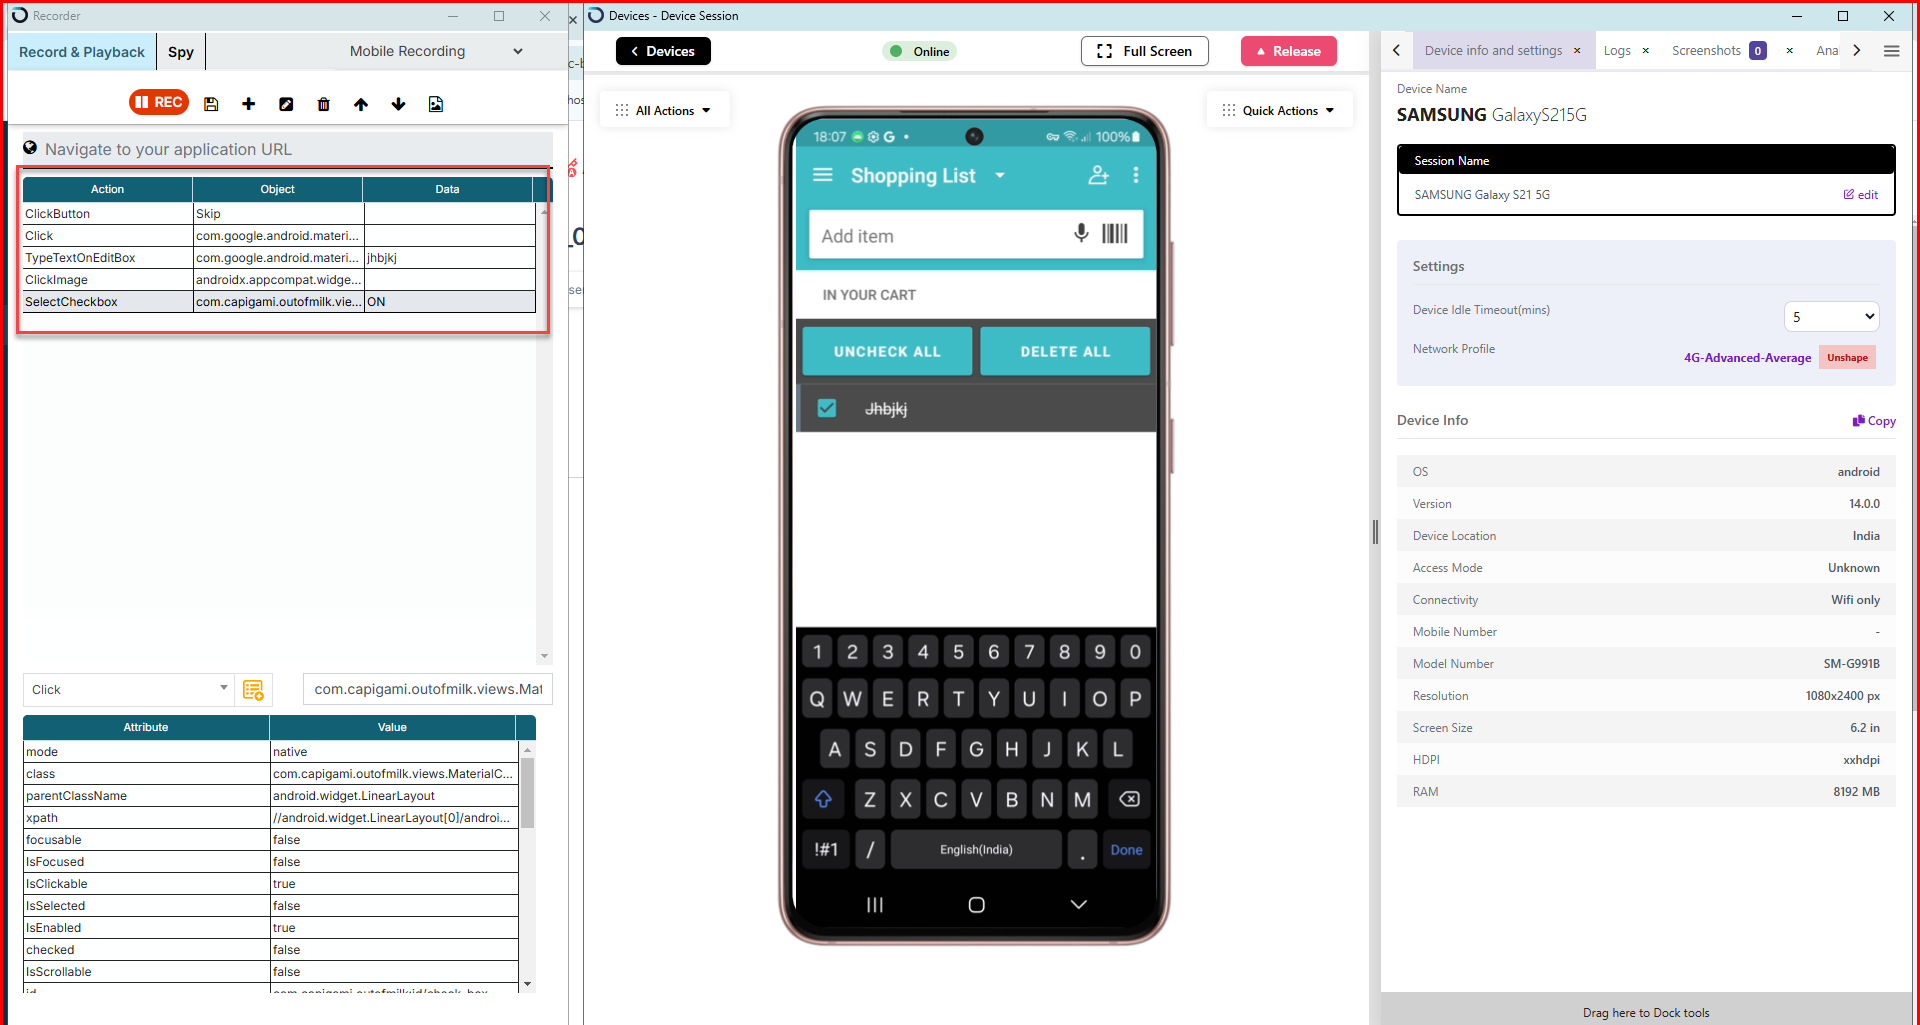
You can also use the Spy recorder to capture objects. Once done recording the step, click on the Save and Close icon on the browser to save the test steps in the test case.
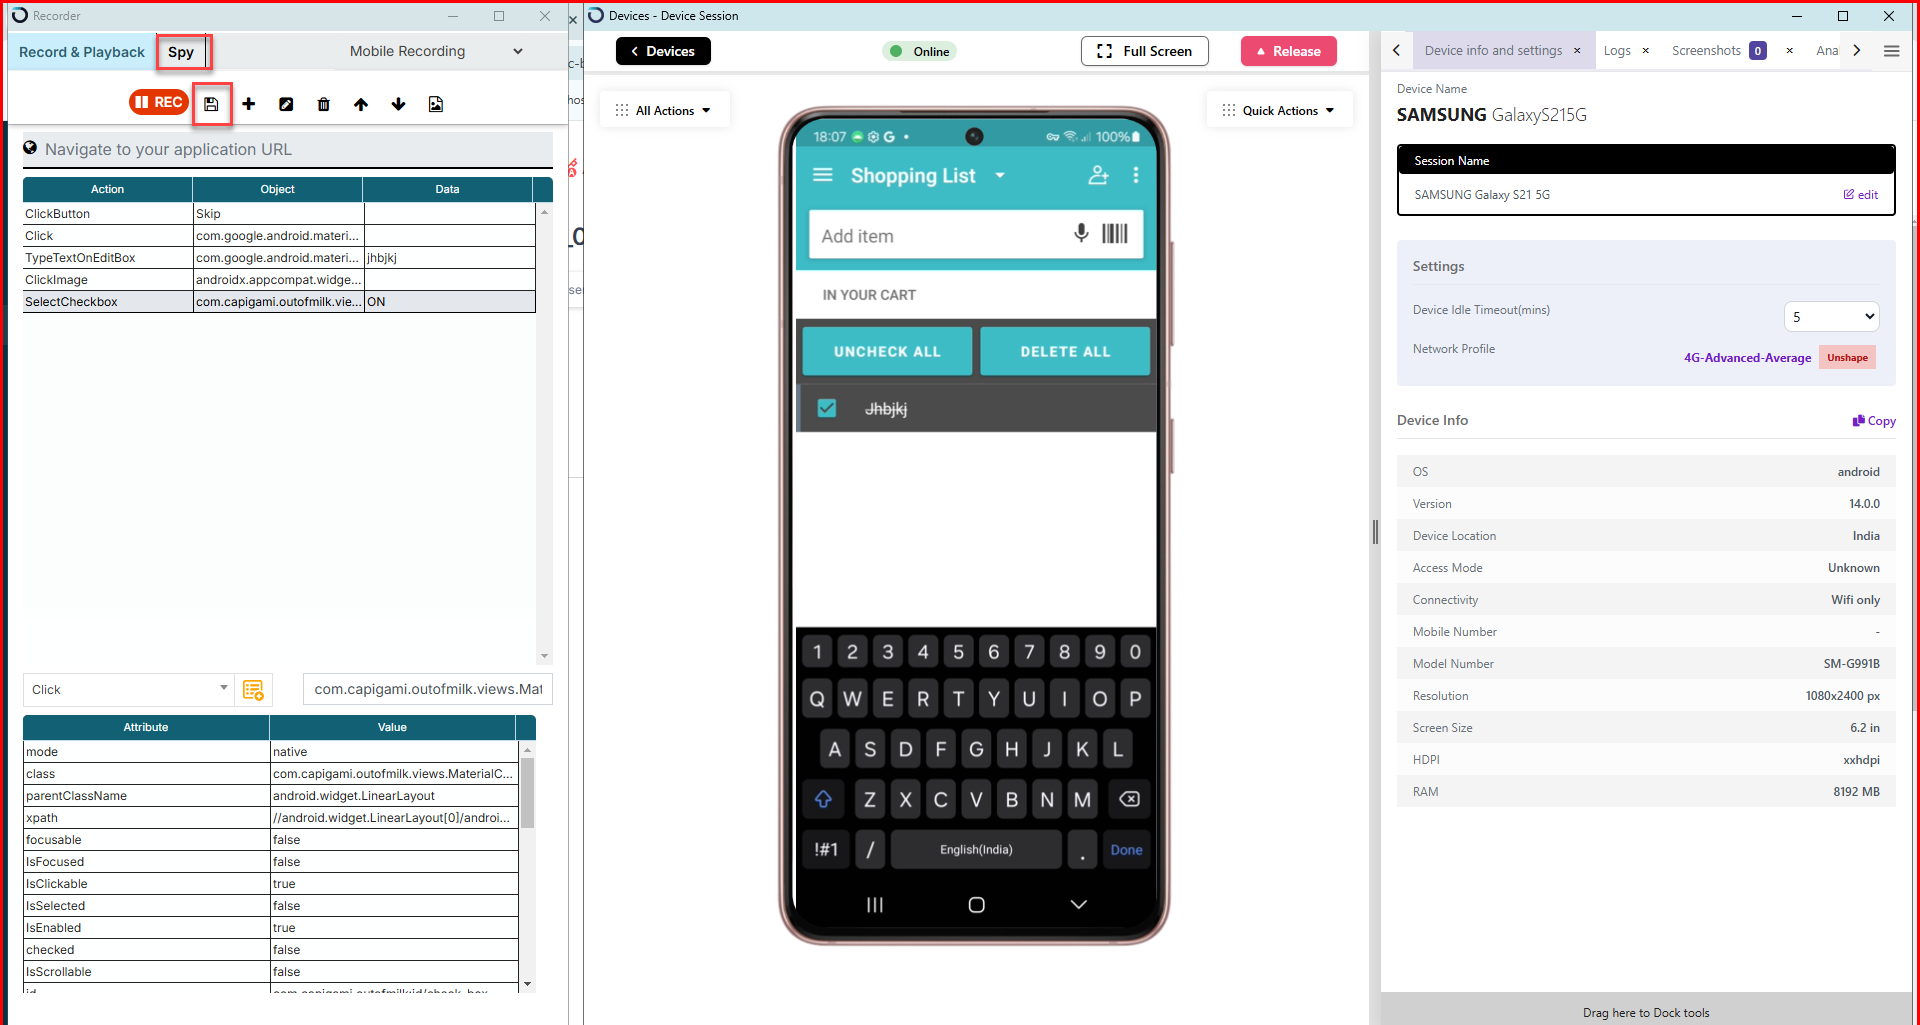
Note: Once you Save and Close the recorder window, the steps are saved in the test case and an object repository is created by the name of the test case. You can use objects saved in the repository in other test cases.
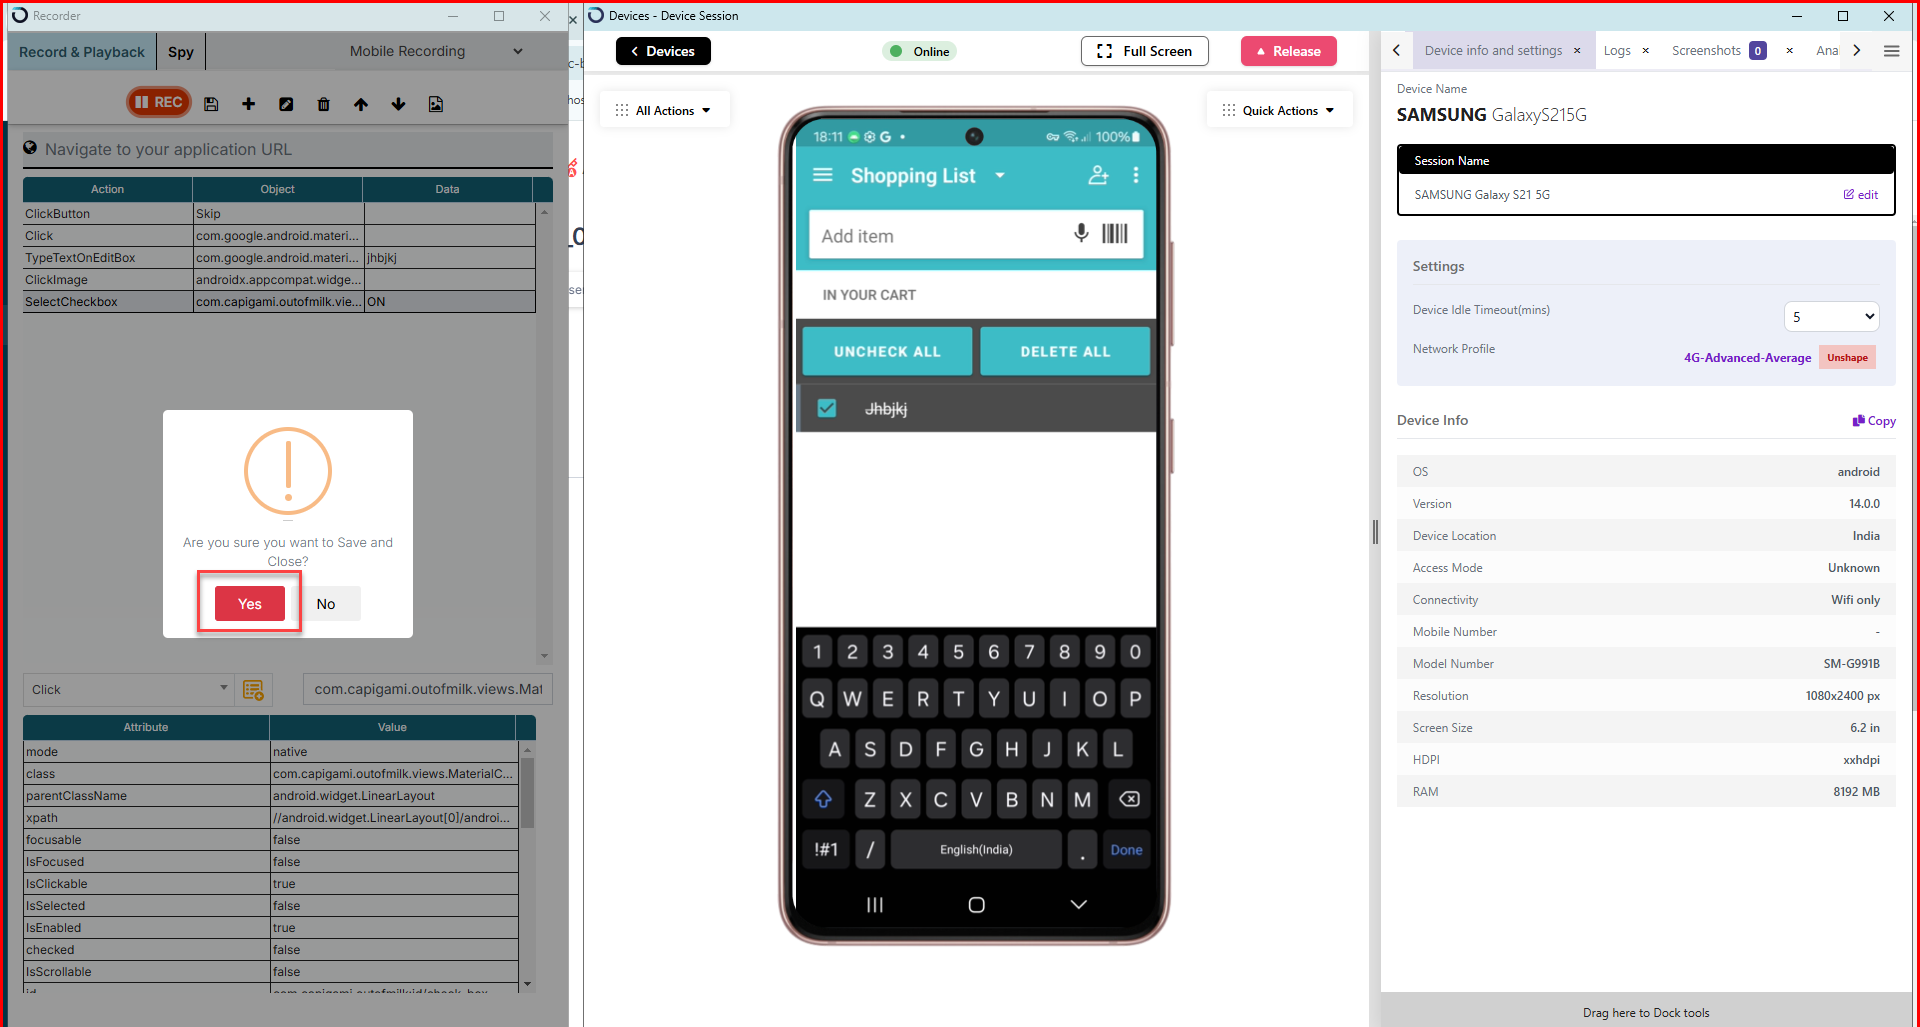
Click Yes on the pop-up that follows.
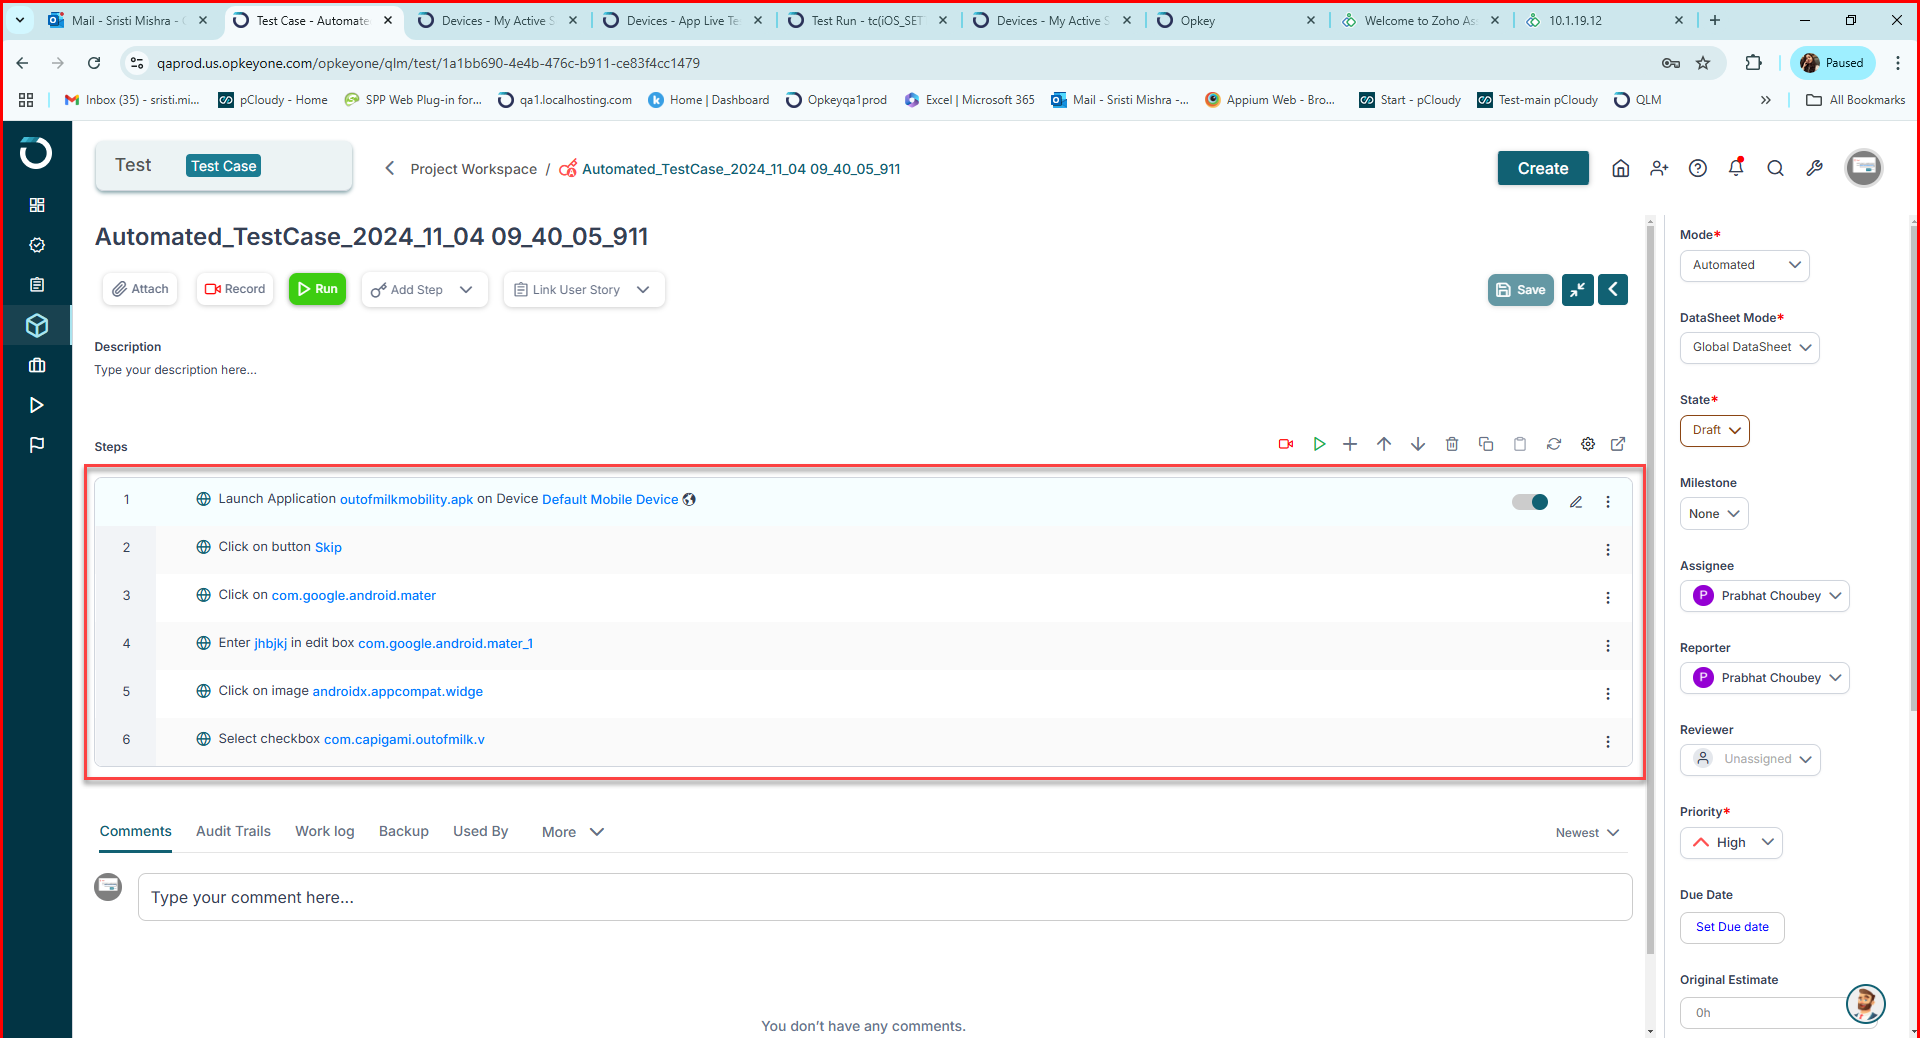
Now, you can see the test steps are added in the test case.
Now, let's execute this test case.
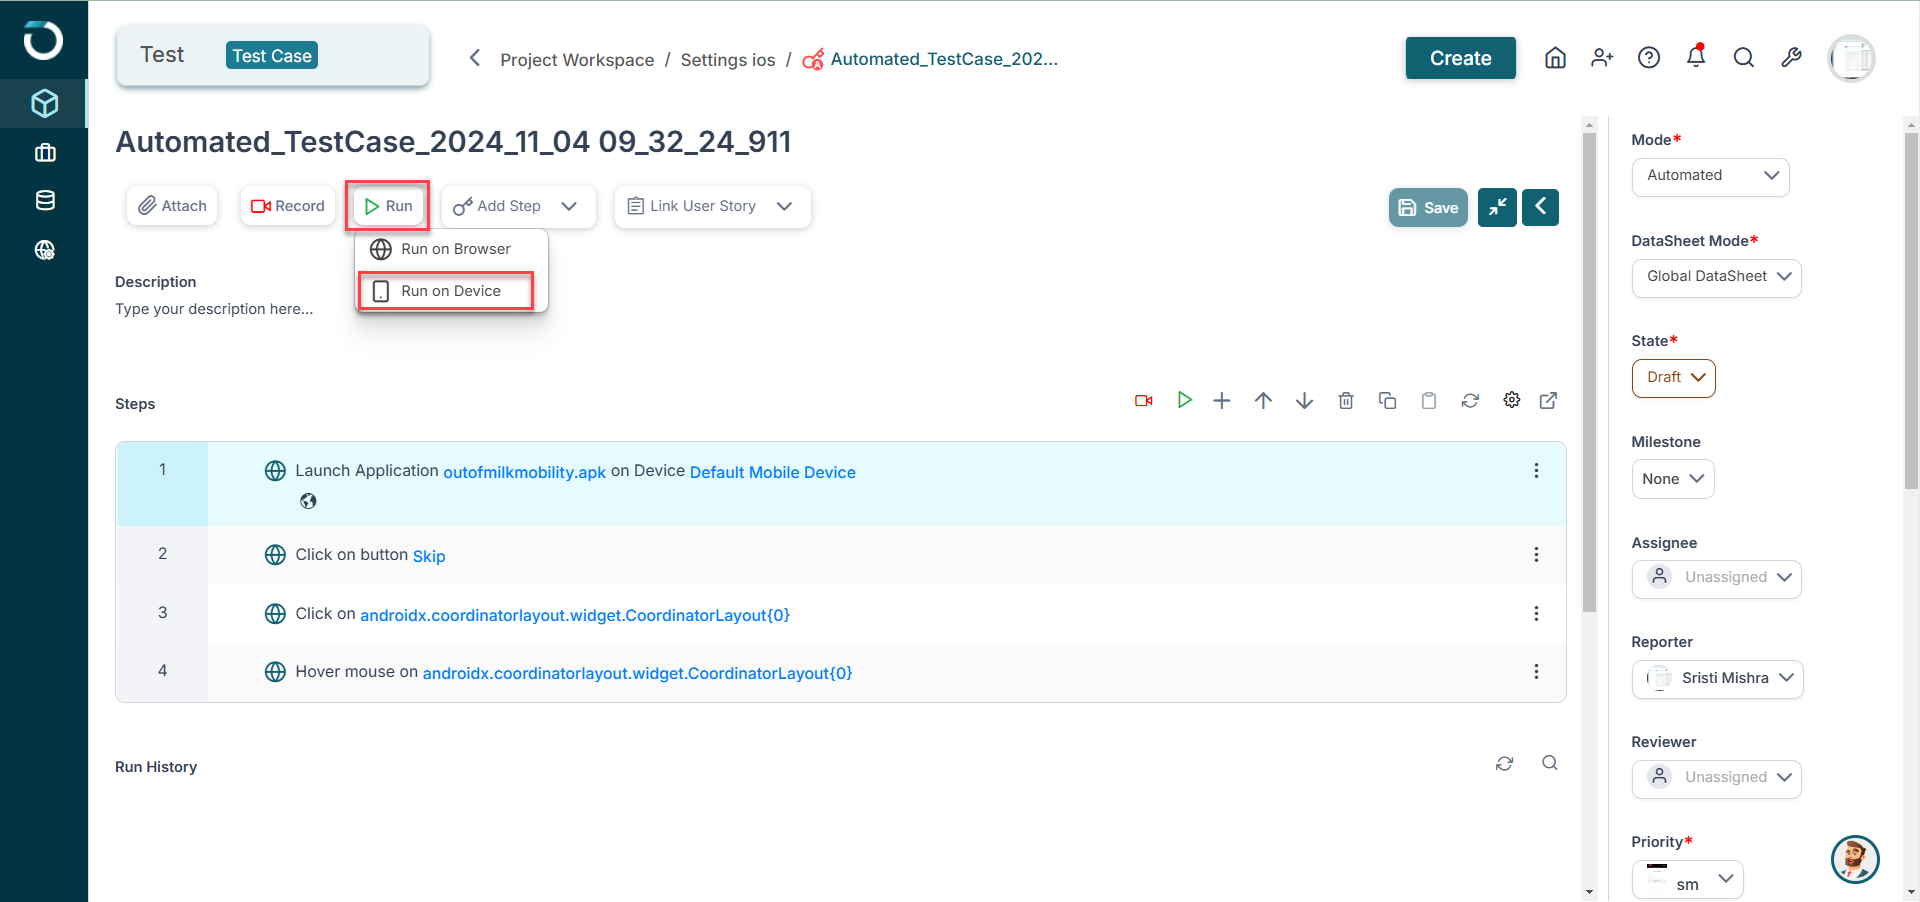
To execute this test case, start by clicking the Run button on top. Select Run on Device.
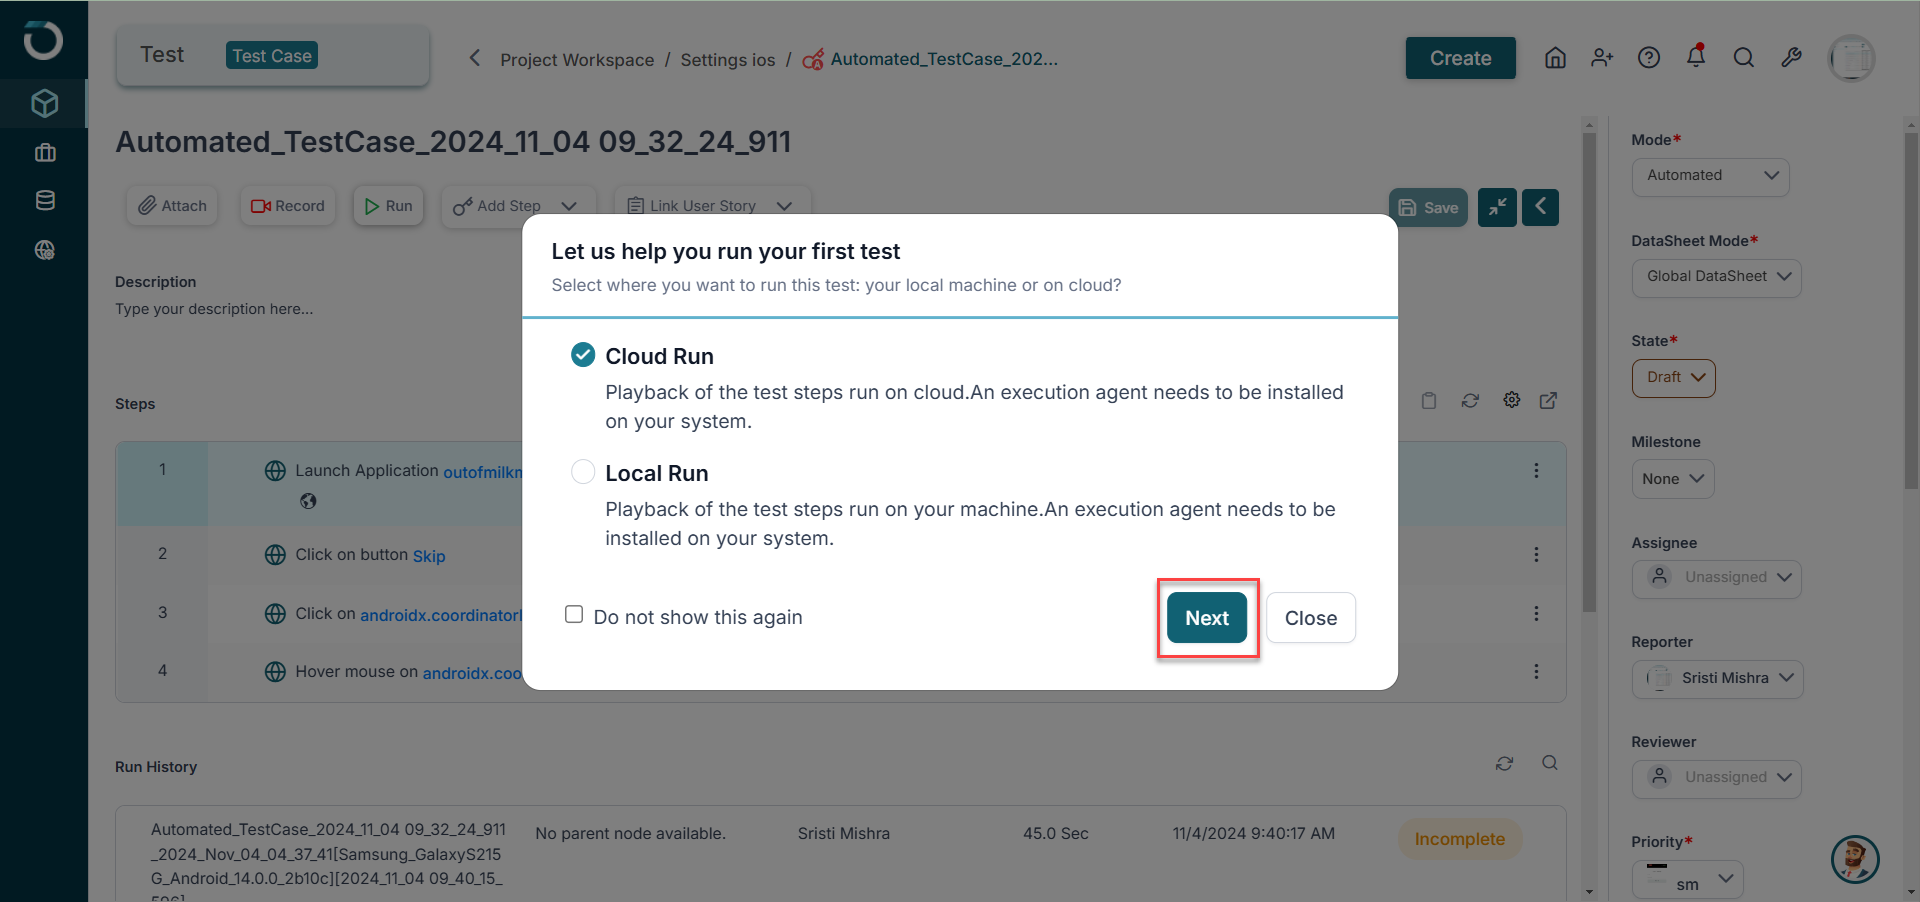
The Cloud Run option will be auto-selected and click Next to proceed.
On the next window, ensure that your execution agent is installed and connected. Next, select your execution agent from the dropdown and click Next.

On the Run Wizard window, you can use the auto-populated name or add a custom name for the test run. Next, select the android version and the device for the test run.

Scroll down and Click on Advanced Settings to add a build name and other options.
Note: If you are a Mac device user, select Agent Spock to execute the test. Use Opkey Execution Agent to execute test cases on a Windows device.
Here, you have two options to choose the plugins for executions:
Use Suggested plugin - This feature allows you to incorporate test case-specific plugins, providing customization and flexibility for your test execution. For the mobile test case, always use OpkeyMobility Plugin.
Last used plugin - This feature allows you to quickly select and reuse the last plugin used in a previous test execution, streamlining the setup process for subsequent tests. This is especially beneficial for tests that are run repeatedly or iteratively, as it ensures consistency by applying the same settings and capabilities that were previously configured.
Once the plugin is selected, click on Start Run to continue.

If you want to view the live run of executions, click on the View Live Run button. It will take you to the My Active Sessions in the Test Infra section where you can click on the live session to view its playback.

Once the execution is completed, click "View Result" to analyze the test case results.

In the next window, you will be able to see the execution result.

You've reached the end of this article and are now well-prepared to create and execute automated test cases using the mobile recorder.
Explore, experiment, and achieve your testing goals on Opkey!


